CL INI CAL SKI L L S LAB · ORTHOP EDICS
Examination of the Hip Joint
A structured approach to Look, Feel, Move and Special Tests for the MBBS clinical curriculum
MBBS · Orthopedic Clinical Examination Series
Learning Objectives
By the end of this CSL session, students should be able to:
Demonstrate the correct approach
Position, expose, and establish rapport before beginning the standard Look–Feel–Move–Measure–Special Tests sequence
Perform systematic inspection
Identify scars, swelling, muscle wasting, deformity and abnormal gait patterns around the hip
Palpate key bony landmarks
Locate the ASIS, greater trochanter, pubic tubercle and assess temperature and tenderness
Assess range of motion
Measure active and passive flexion, extension, abduction, adduction, and rotation against normal values
Measure leg length
Differentiate true from apparent leg length discrepancy and identify the level of shortening
Perform special tests
Correctly execute and interpret the Trendelenburg test, Thomas test, and FABER (Patrick) test
Examination of the Hip Joint
2
Applied Anatomy for the Hip Examination
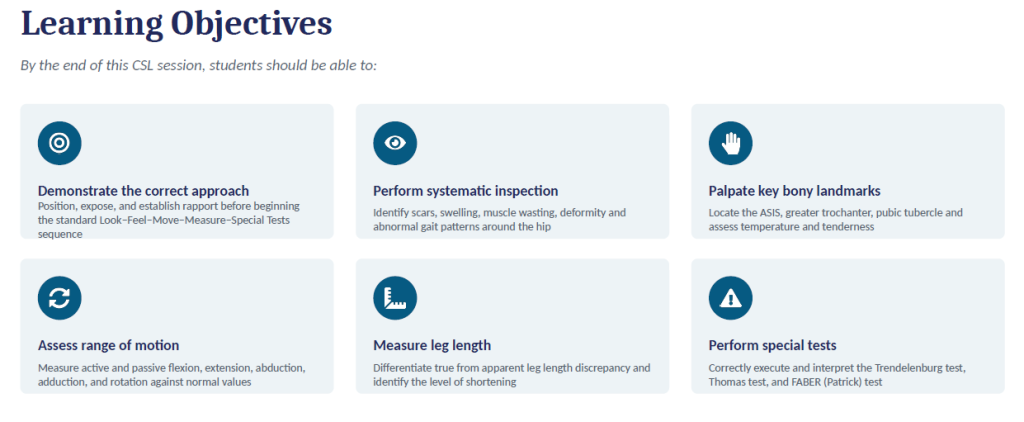
Ball-and-Socket Synovial Joint
Femoral head articulates with the acetabulum of the
pelvis
Deep, stable joint reinforced by the iliofemoral,
pubofemoral and ischiofemoral ligaments
Surrounded by strong periarticular muscles —
gluteals, iliopsoas, adductors, hamstrings
Nerve supply follows Hilton’s Law: femoral, obturator
and sciatic nerves
Referred pain commonly presents in the groin,
buttock, or knee
Key Bony Landmarks to Palpate
1
Anterior superior iliac spine (ASIS)
Site for true leg-length measurement; sartorius/ inguinal ligament attachment
2
Greater trochanter
Lateral prominence; tenderness suggests trochanteric bursitis; level compared bilaterally
3
Pubic symphysis / tubercle
Landmark for measuring apparent leg length; adductor origin
4
Anterior inferior iliac spine (AIIS)
Rectus femoris origin; relevant in avulsion injuries
5
Ischial tuberosity
Hamstring origin; palpated with hip flexed, felt best in sitting
Examination of the Hip Joint 3
General Approach to the Examination
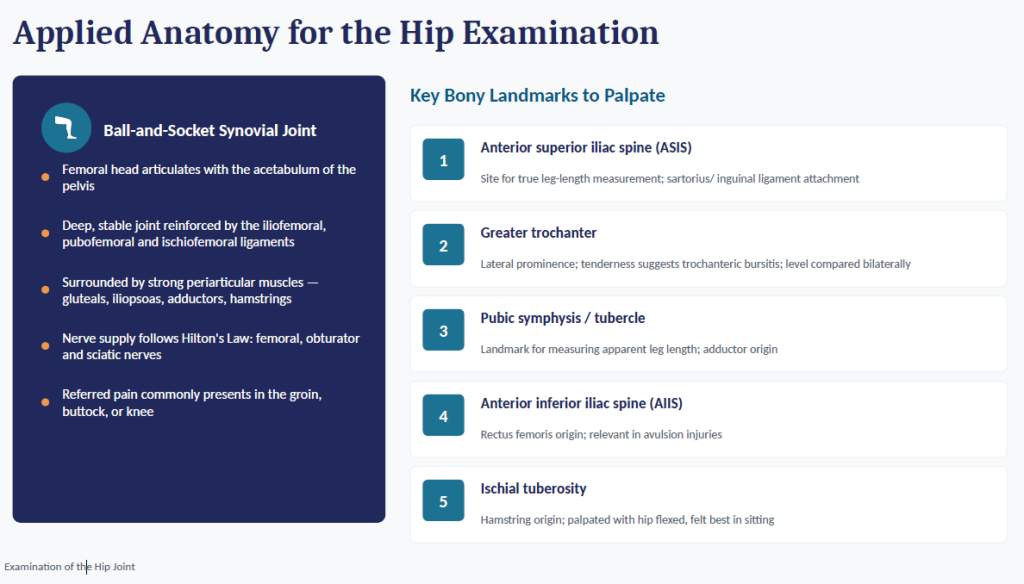
A calm, systematic routine reassures the patient and prevents missed findings
WIPE
Wash hands, Introduce yourself, obtain consent,
ensure Privacy, adequate Exposure of both lower
limbs
Position
Patient standing first, then walking, then supine and
lateral on a firm examination couch
Look
Inspect from front, side and back — skin, swelling,
deformity, muscle bulk, gait
Feel
Palpate bony landmarks, joint line, and check skin
temperature for warmth
Move
Assess active then passive range of motion in all
planes, comparing both sides
Special Tests
Trendelenburg, Thomas test, FABER, leg length
measurement, and completion
Examination of the Hip Joint 4
Step 1 — Inspection (Look)
Examine the patient standing (front, side, back), during gait, and then lying supine
From the front
Pelvic tilt and level of iliac crests
Muscle wasting — quadriceps, gluteal region
Obvious swelling or deformity
Skin changes, sinuses or scars
From the side
Lumbar lordosis (increased in fixed flexion deformity)
Anterior pelvic tilt
Flexion posture of the hip
From behind
Gluteal muscle bulk and symmetry
Spinal alignment and scoliosis
Level of gluteal folds and popliteal creases
Always observe gait first
Ask the patient to walk a few steps — look for an antalgic gait (short stance phase due to pain) or a Trendelenburg gait (pelvic drop from abductor weakness)
before formal testing
Examination of the Hip Joint 5
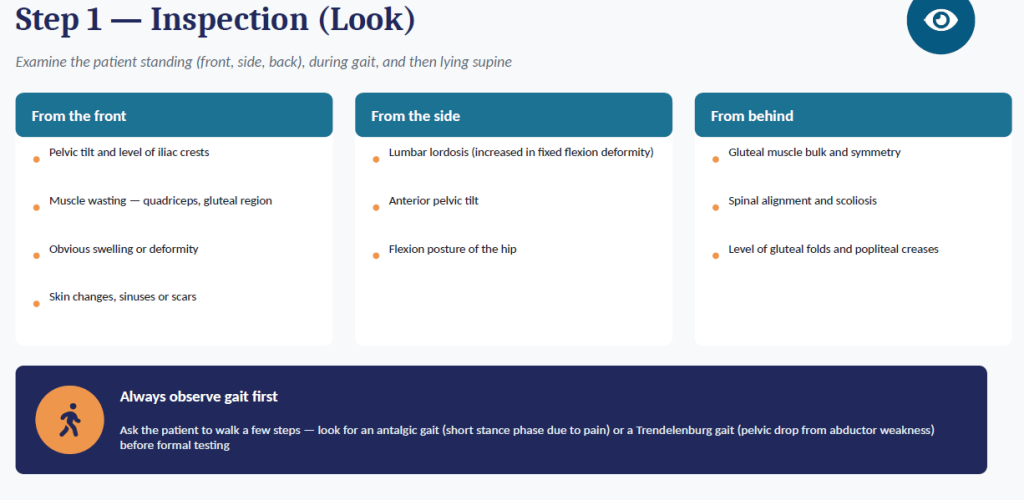
Gait Analysis
Gait abnormalities often give the first clue to hip pathology before any hands-on testing
Antalgic gait
A pain-avoiding gait with a shortened stance phase on the affected side. The patient
spends as little time as possible bearing weight on the painful hip.
Seen in: osteoarthritis, fracture, inflammatory arthritis
Trendelenburg gait
The pelvis drops toward the unsupported (normal) side during single-leg stance on the
affected side, due to weak hip abductors (gluteus medius/minimus) — a ‘waddling’ gait if
bilateral.
Seen in: abductor weakness, superior gluteal nerve palsy,
hip dysplasia
Short leg (limping) gait
A rhythmic dip of the pelvis and shoulder toward the shorter limb with each step on that
side.
Seen in: true or apparent leg length discrepancy
Examination of the Hip Joint 6
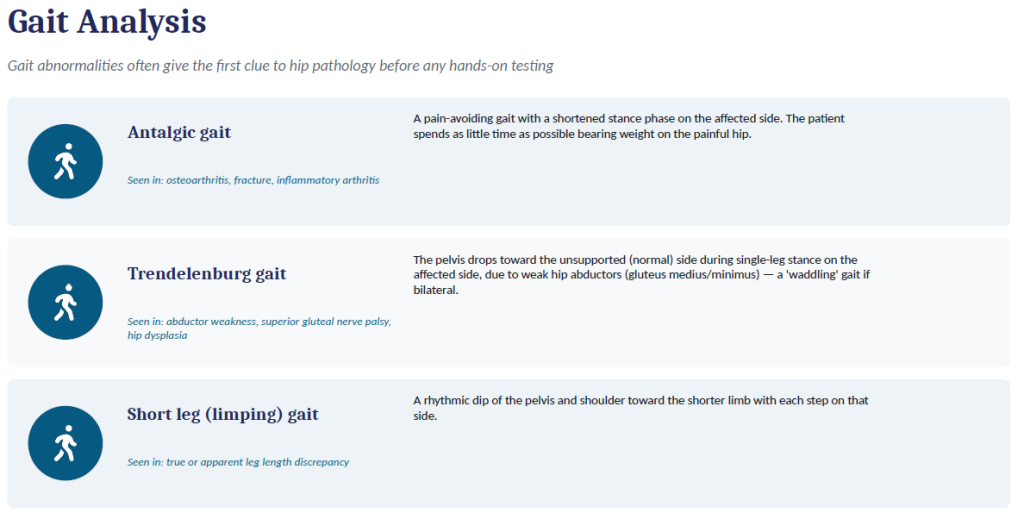
Step 2 — Palpation (Feel)
Patient supine, both lower limbs exposed and relaxed on the couch
Anterior & lateral palpation
Feel for skin temperature over the joint using the back of the hand
— compare both sides
Palpate the greater trochanter for tenderness (trochanteric bursitis)
Palpate the ASIS, pubic tubercle and ischial tuberosity
Deep structures & special notes
Palpate the femoral triangle for femoral pulse and inguinal lymph
nodes
Assess for joint effusion (difficult clinically in a deep joint like the hip)
Note any muscle spasm, crepitus, or a snapping sensation on
movement
Examination of the Hip Joint 7
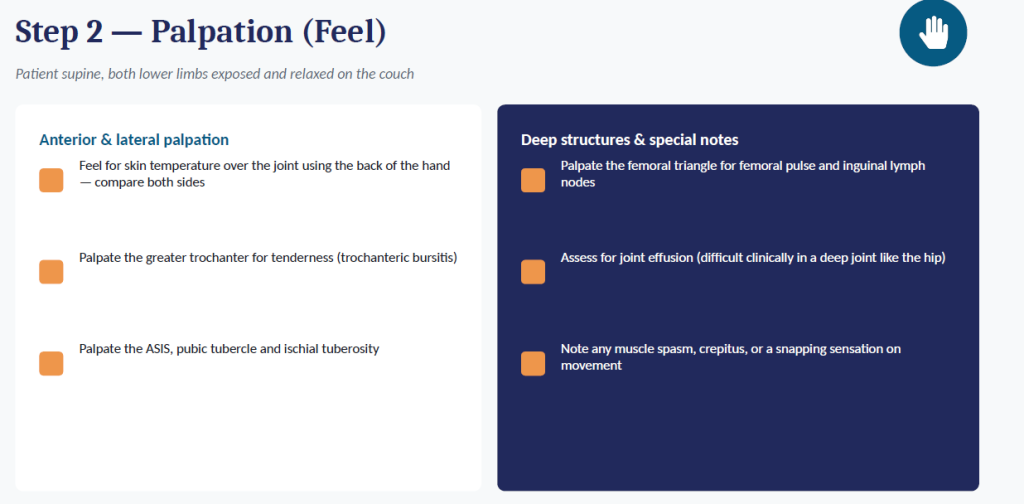
Leg Length Measurement
Patient supine with the pelvis square and both limbs placed symmetrically before measuring
True Leg Length
ASIS → Medial malleolus
Measured with limbs placed in a comparable, symmetrical position (same
degree of abduction/adduction). Reflects true bony length of femur + tibia. A
difference indicates true shortening — from the femur, hip joint, or tibia.
Normal: both sides equal (±1 cm)
Apparent Leg Length
Xiphisternum / umbilicus → Medial malleolus
Measured from a fixed midline point, without correcting limb position. Affected
by pelvic tilt, spinal deformity, or fixed adduction/abduction at the hip — not
just bone length.
Compare with true length to localise the cause
Clinical pearl: if true length is equal but apparent length differs, suspect a pelvic tilt or fixed deformity of the hip (e.g. fixed adduction or abduction) rather than true bony
shortening.
Examination of the Hip Joint 8
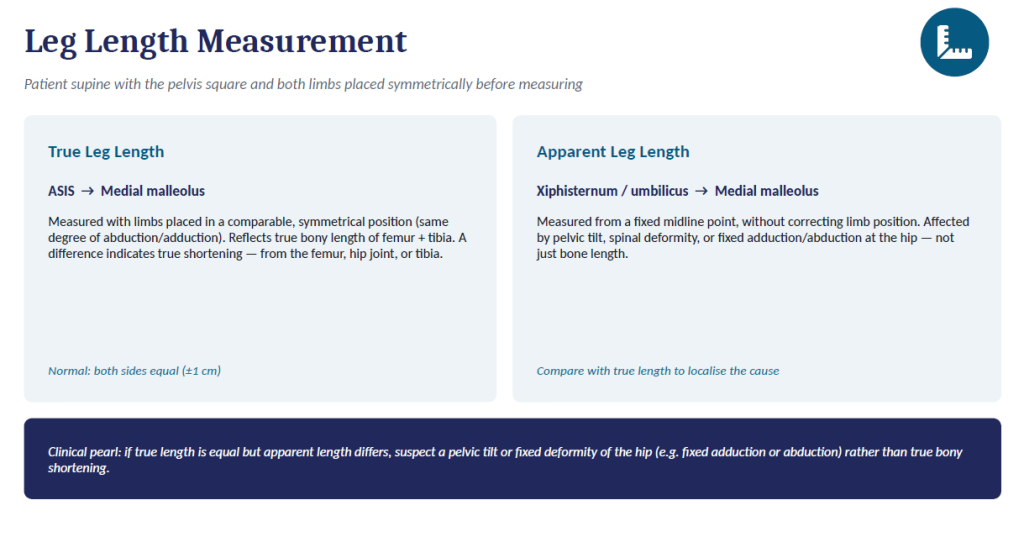
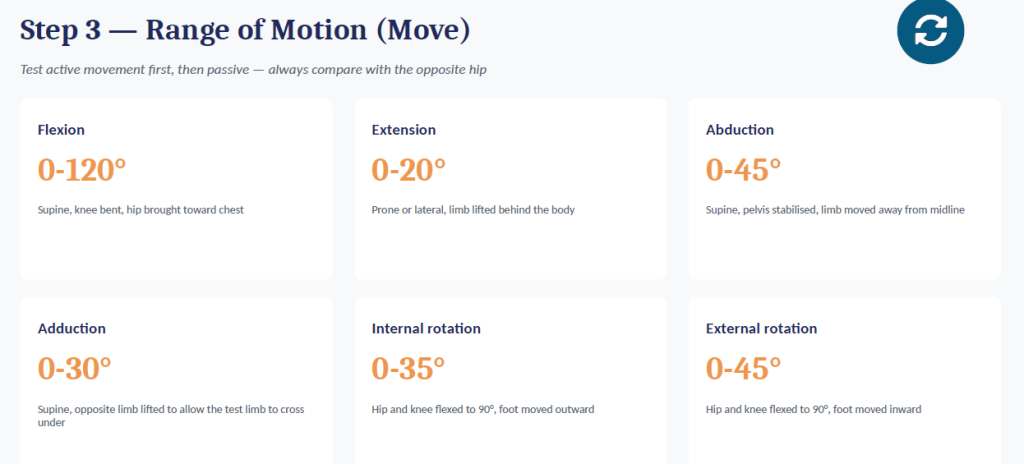
Step 3 — Range of Motion (Move)
Test active movement first, then passive — always compare with the opposite hip
Flexion
0-120°
Supine, knee bent, hip brought toward chest
Extension
0-20°
Prone or lateral, limb lifted behind the body
Abduction
0-45°
Supine, pelvis stabilised, limb moved away from midline
Adduction
0-30°
Supine, opposite limb lifted to allow the test limb to cross
under
Internal rotation
0-35°
Hip and knee flexed to 90°, foot moved outward
External rotation
0-45°
Hip and knee flexed to 90°, foot moved inward
Examination of the Hip Joint 9
Special Test 1 — Trendelenburg Test
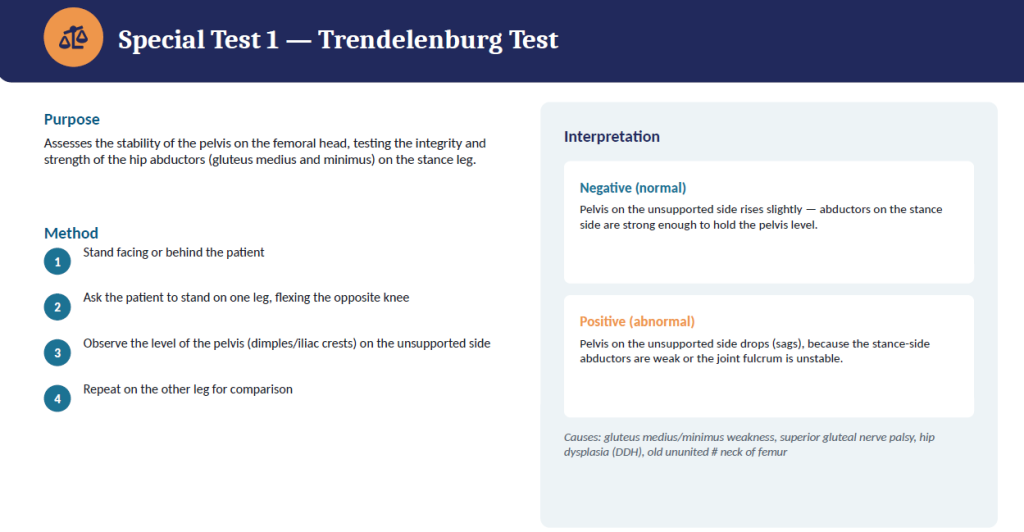
Purpose
Assesses the stability of the pelvis on the femoral head, testing the integrity and
strength of the hip abductors (gluteus medius and minimus) on the stance leg.
Method
1
Stand facing or behind the patient
2
Ask the patient to stand on one leg, flexing the opposite knee
3
Observe the level of the pelvis (dimples/iliac crests) on the unsupported side
4
Repeat on the other leg for comparison
Interpretation
Negative (normal)
Pelvis on the unsupported side rises slightly — abductors on the stance
side are strong enough to hold the pelvis level.
Positive (abnormal)
Pelvis on the unsupported side drops (sags), because the stance-side
abductors are weak or the joint fulcrum is unstable.
Causes: gluteus medius/minimus weakness, superior gluteal nerve palsy, hip
dysplasia (DDH), old ununited # neck of femur
Examination of the Hip Joint 10
Special Test 2 — Thomas Test
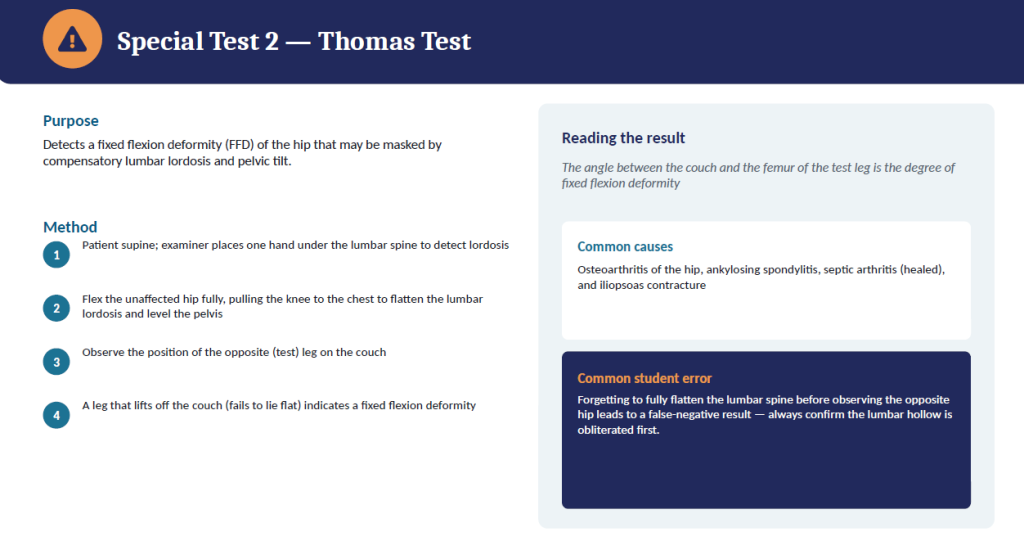
Purpose
Detects a fixed flexion deformity (FFD) of the hip that may be masked by compensatory lumbar lordosis and pelvic tilt.
Method
1
Patient supine; examiner places one hand under the lumbar spine to detect lordosis
2
Flex the unaffected hip fully, pulling the knee to the chest to flatten the lumbar lordosis and level the pelvis
3
Observe the position of the opposite (test) leg on the couch
4
A leg that lifts off the couch (fails to lie flat) indicates a fixed flexion deformity
Reading the result
The angle between the couch and the femur of the test leg is the degree of fixed flexion deformity
Common causes
Osteoarthritis of the hip, ankylosing spondylitis, septic arthritis (healed), and iliopsoas contracture
Common student error
Forgetting to fully flatten the lumbar spine before observing the opposite hip leads to a false-negative result — always confirm the lumbar hollow is obliterated first.
Examination of the Hip Joint
11
Special Tests 3 & 4 — FABER and Log Roll
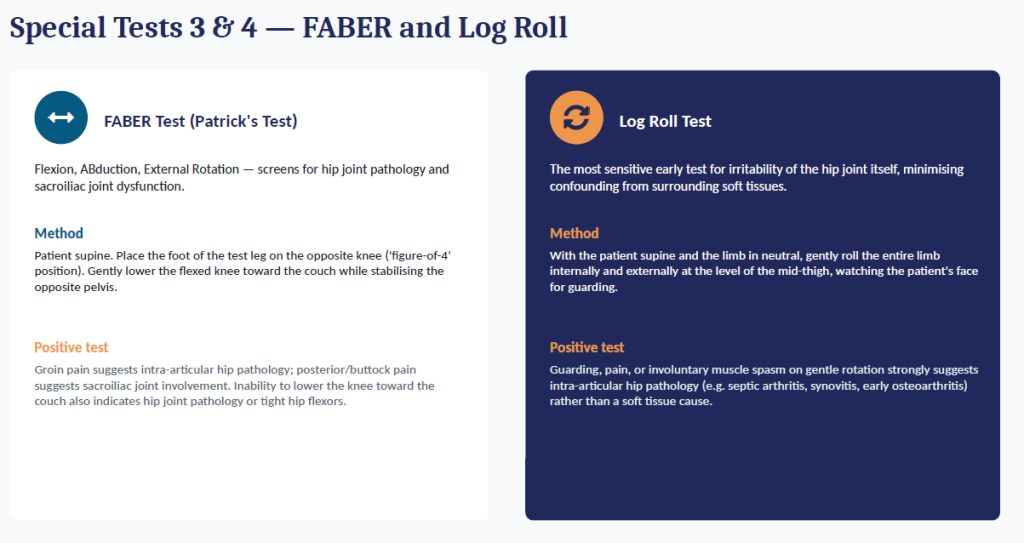
FABER Test (Patrick’s Test)
Flexion, ABduction, External Rotation — screens for hip joint pathology and
sacroiliac joint dysfunction.
Method
Patient supine. Place the foot of the test leg on the opposite knee (‘figure-of-4’
position). Gently lower the flexed knee toward the couch while stabilising the
opposite pelvis.
Positive test
Groin pain suggests intra-articular hip pathology; posterior/buttock pain
suggests sacroiliac joint involvement. Inability to lower the knee toward the
couch also indicates hip joint pathology or tight hip flexors.
Log Roll Test
The most sensitive early test for irritability of the hip joint itself, minimising
confounding from surrounding soft tissues.
Method
With the patient supine and the limb in neutral, gently roll the entire limb
internally and externally at the level of the mid-thigh, watching the patient’s face
for guarding.
Positive test
Guarding, pain, or involuntary muscle spasm on gentle rotation strongly suggests
intra-articular hip pathology (e.g. septic arthritis, synovitis, early osteoarthritis)
rather than a soft tissue cause.
Examination of the Hip Joint 12
Completing the Examination
No hip examination is complete without these final steps
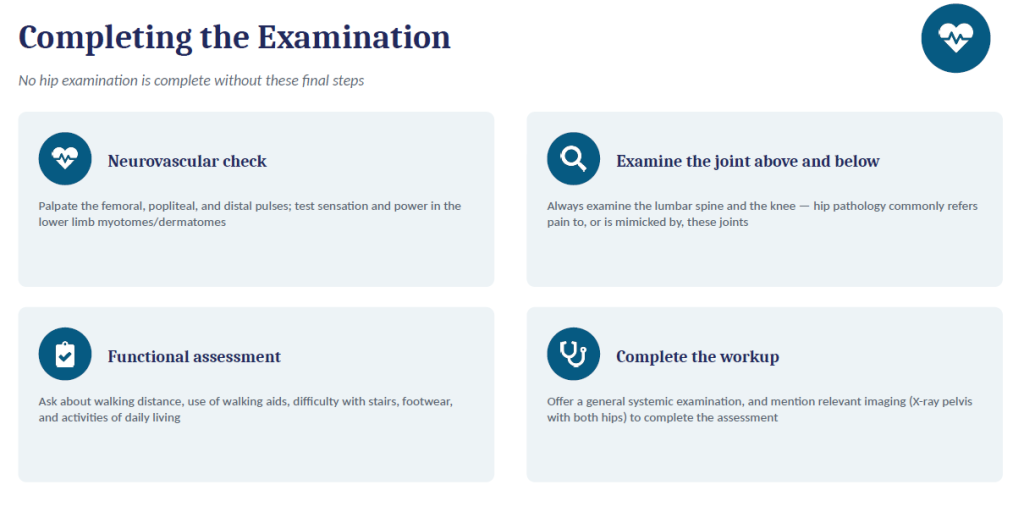
Neurovascular check
Palpate the femoral, popliteal, and distal pulses; test sensation and power in the lower limb myotomes/dermatomes
Examine the joint above and below
Always examine the lumbar spine and the knee — hip pathology commonly refers pain to, or is mimicked by, these joints
Functional assessment
Ask about walking distance, use of walking aids, difficulty with stairs, footwear, and activities of daily living
Complete the workup
Offer a general systemic examination, and mention relevant imaging (X-ray pelvis with both hips) to complete the assessment
Examination of the Hip Joint
13
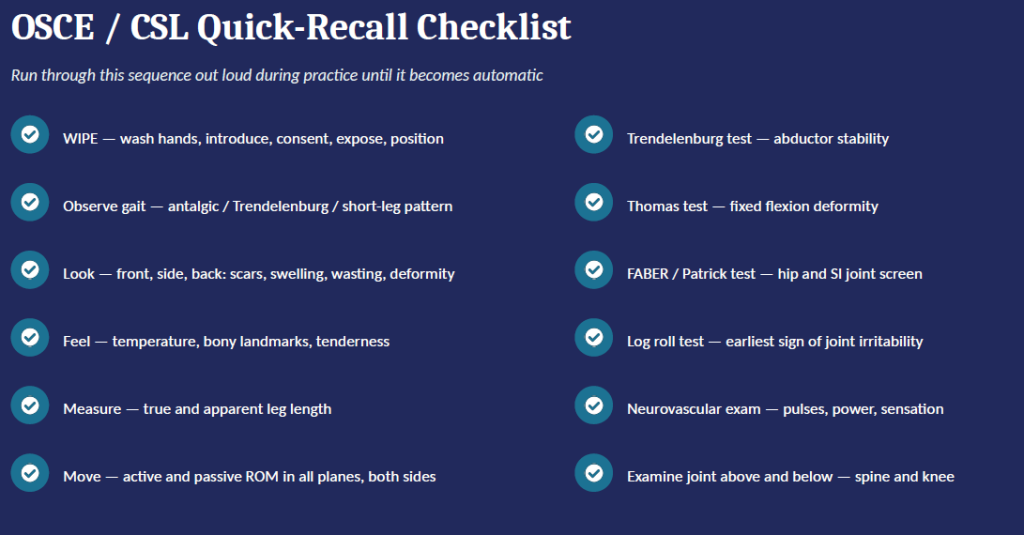
OSCE / CSL Quick-Recall Checklist
Run through this sequence out loud during practice until it becomes automatic
WIPE — wash hands, introduce, consent, expose, position
Observe gait — antalgic / Trendelenburg / short-leg pattern
Look — front, side, back: scars, swelling, wasting, deformity
Feel — temperature, bony landmarks, tenderness
Measure — true and apparent leg length
Move — active and passive ROM in all planes, both sides
Trendelenburg test — abductor stability
Thomas test — fixed flexion deformity
FABER / Patrick test — hip and SI joint screen
Log roll test — earliest sign of joint irritability
Neurovascular exam — pulses, power, sensation
Examine joint above and below — spine and knee
Examination of the Hip Joint 14
References & Further Reading
Clinical Examination — Talley and O’Connor, Musculoskeletal System: The Hip
Macleod’s Clinical Examination — Locomotor System chapter
Apley’s System of Orthopaedics and Fractures — Hip Examination
Hoppenfeld S. Physical Examination of the Spine and Extremities
Local institutional CSL manual and OSCE checklist for the hip joint
Prepared for MBBS Clinical Skills Lab — Orthopedic Examination of the Hip Joint
More useful Links
More Medical Links